Dyeables
- Views Views: 1,493
- Last updated Last updated:


-
Contents
Handy Helpers
Save time with these free and easy to use utilities available for your convenience.
Creating a Dyeable Item
Step 1. Toggling Tint Per Face
To get started with making a model dyeable, we need to enable the tinting of each face on the cubes that we want to be colored. The fastest way we can do this is by popping our model into Blockbench.
Once your model is open in Blockbench, click on a face of your model and right click on the selection in the UV box on the left side of your screen. In this menu we will have an option for tint, and ticking the checkbox will allow that face to be colored in-game. Repeat this process for each face you want to be colored.
If you'd like to be able to preview the tint color in Blockbench, you can download a plugin called 'Tint Preview.' To do this, go to File > Plugins and then search for 'Tint Preview' under the 'Available' tab. Once installed, enable it under the 'Tools' tab.

Right clicking a face in the UV tab displays the tint option.
Note: Make sure when making dyeable models that the areas you want colored are very light shades of white. Any color tint is going to cover the base model's color, so if you're using anything other than white, chances are you'll get a very unpleasing result.
A quick recommend tip, set up a keybind for toggling tint so that way you'll be able to ease some stress on your fingers and just hit a quick key on your keyboard! I personally use ALT+T. This will also save you a bunch of time, especially with larger models.
Step 2. Creating a Predicate
Now that your model has tint enabled, we need to create a predicate on a tintable item. If the model is not assigned to a tintable item, it won't tint. There's only a select few dyeable items that we use and the most common are leather horse armor and potions. For this tutorial we will be leather horse armor.
Same steps as usual, create a new predicate entry with a unique custom model data number and assign it the proper path to your model. A full guide on implementing custom items and models can be found here.
This file example will be saved as ourleather_horse_armor.jsonwhich is located in/assets/minecraft/models/item/
JSON:{
"parent":"item/generated",
"textures":{
"layer0":"item/leather_horse_armor"
},
"overrides":[{
"predicate":{
"custom_model_data": 1 }, "model":"custom/cushion_chair"
}]
}
Step 3. Result
You've enabled tinting, you've implemented it as an item, and now it's time to finally go in-game and test it out! If you want, you can give yourself the item straight away and it won't have any tint. You'll then only be able to add tint through the crafting table with dyes.
/give @p leather_horse_armor{CustomModelData:1} 1
If you wanted to give yourself a specific color, it's a little trickier than you expect. First you need to acquire a hex code and then convert it into a decimal (free converters on google). Now you can use the following command, replacing my example decimal, '15597568,' with yours.
/give @p leather_horse_armor{CustomModelData:1,display:{color:15597568}} 1

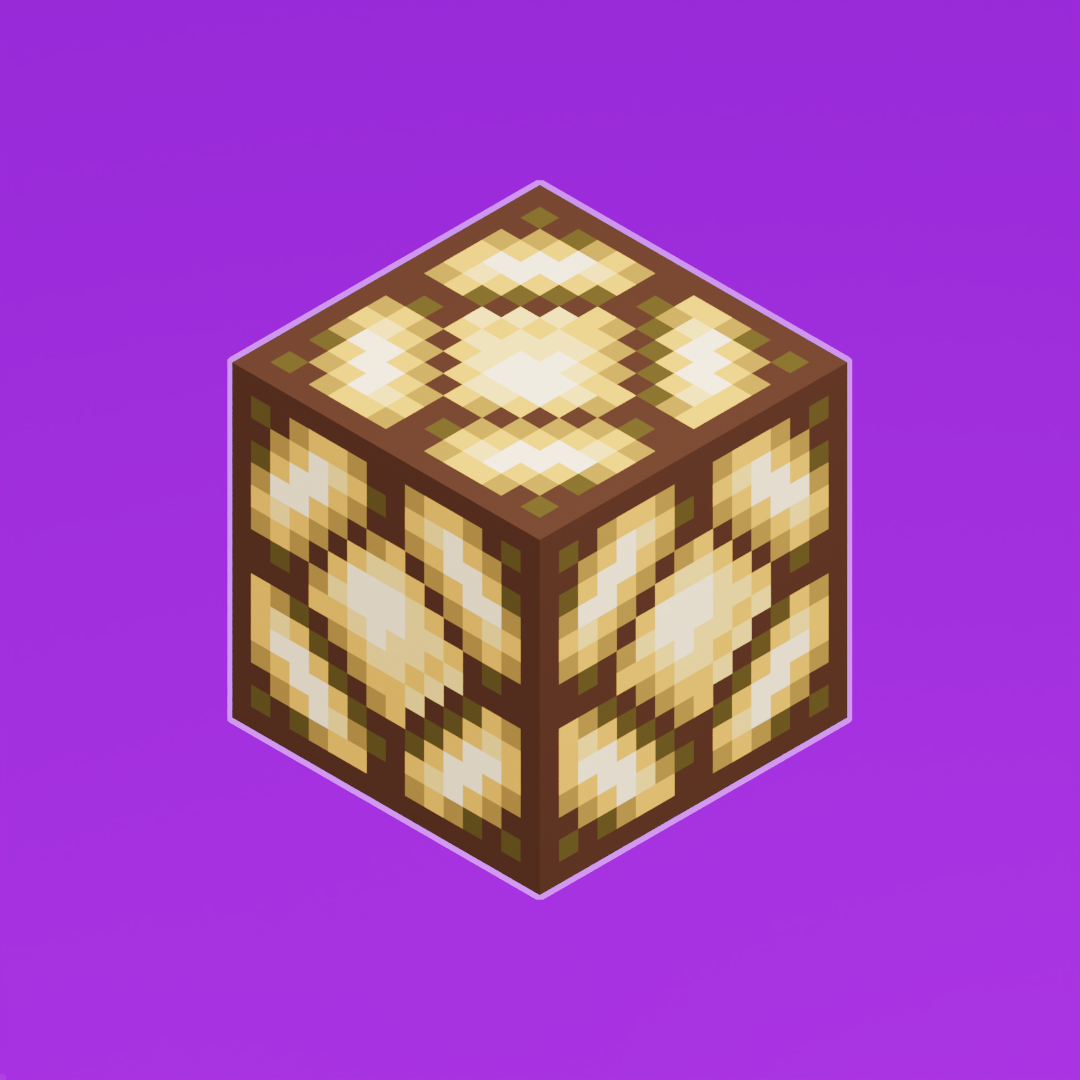
Cushion chair model with tint toggled in-game.
Need More Brain Fuel?
Check out these other neat guides!